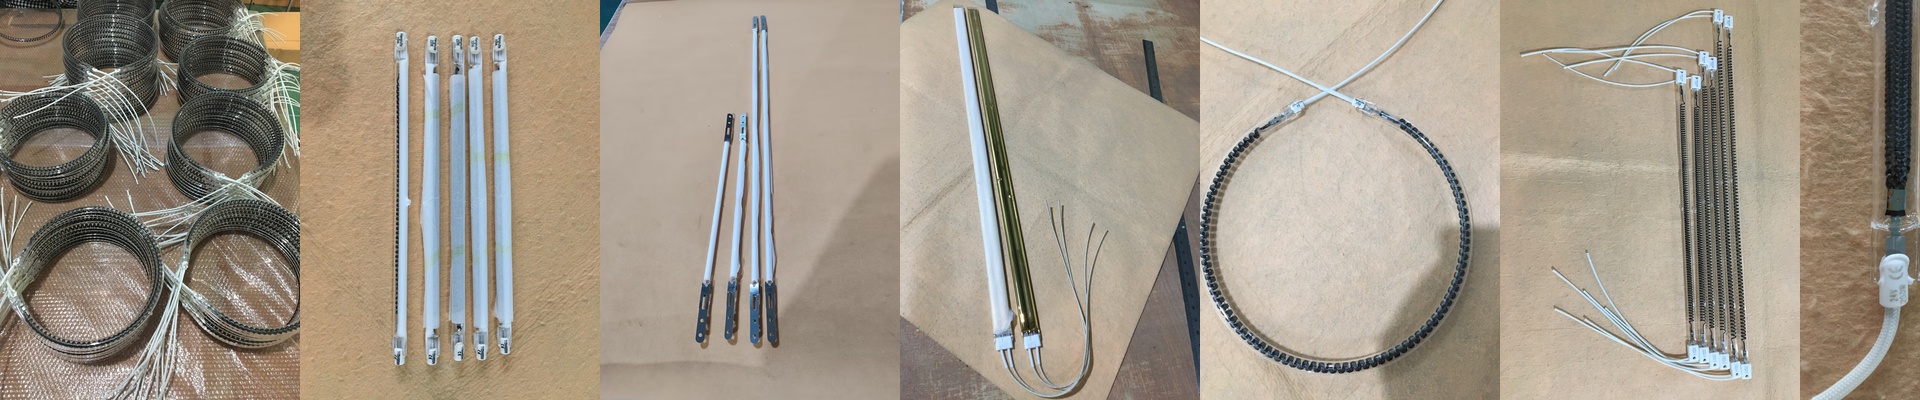
Getting Your MHM Printing Lamps Right
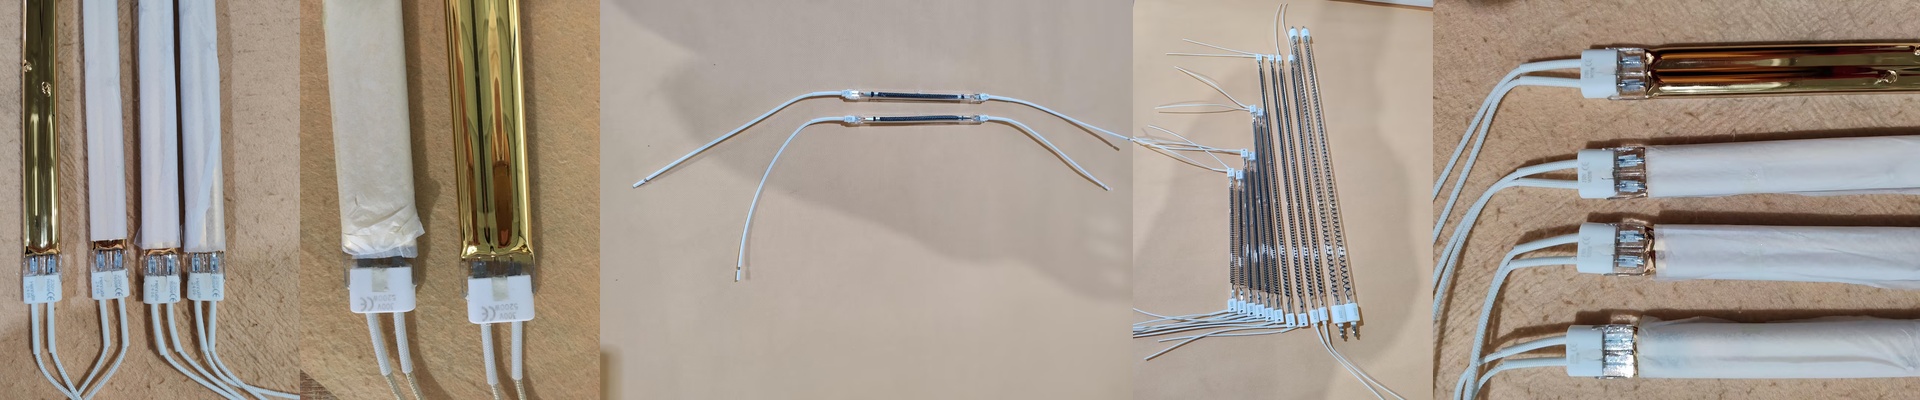
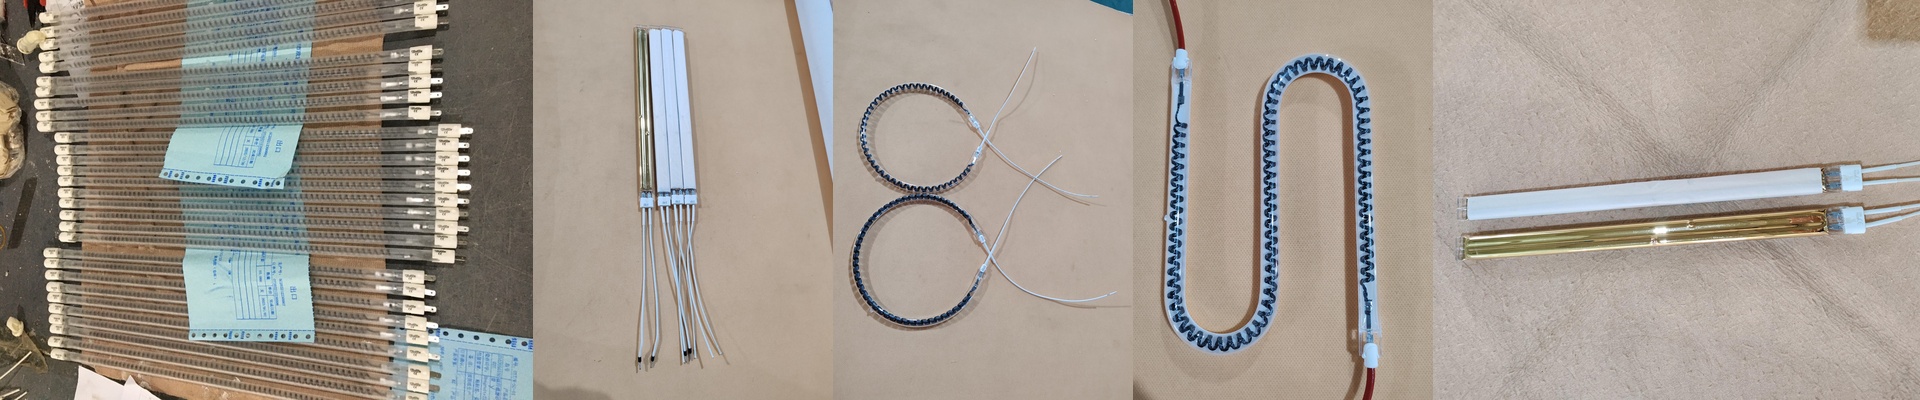
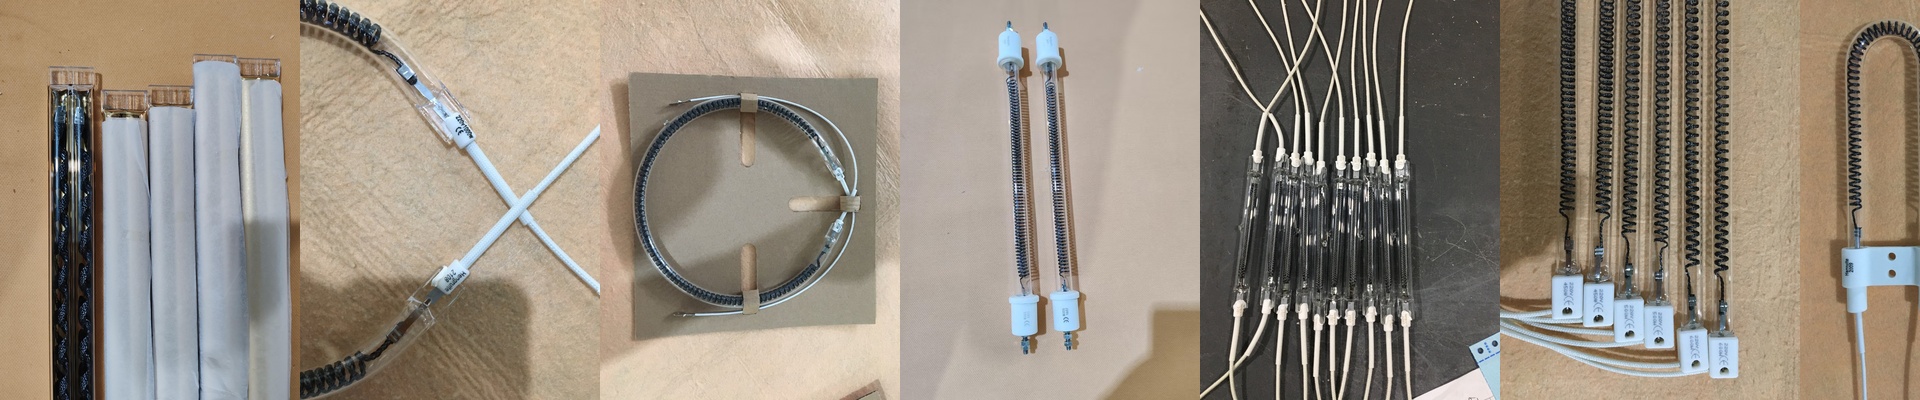
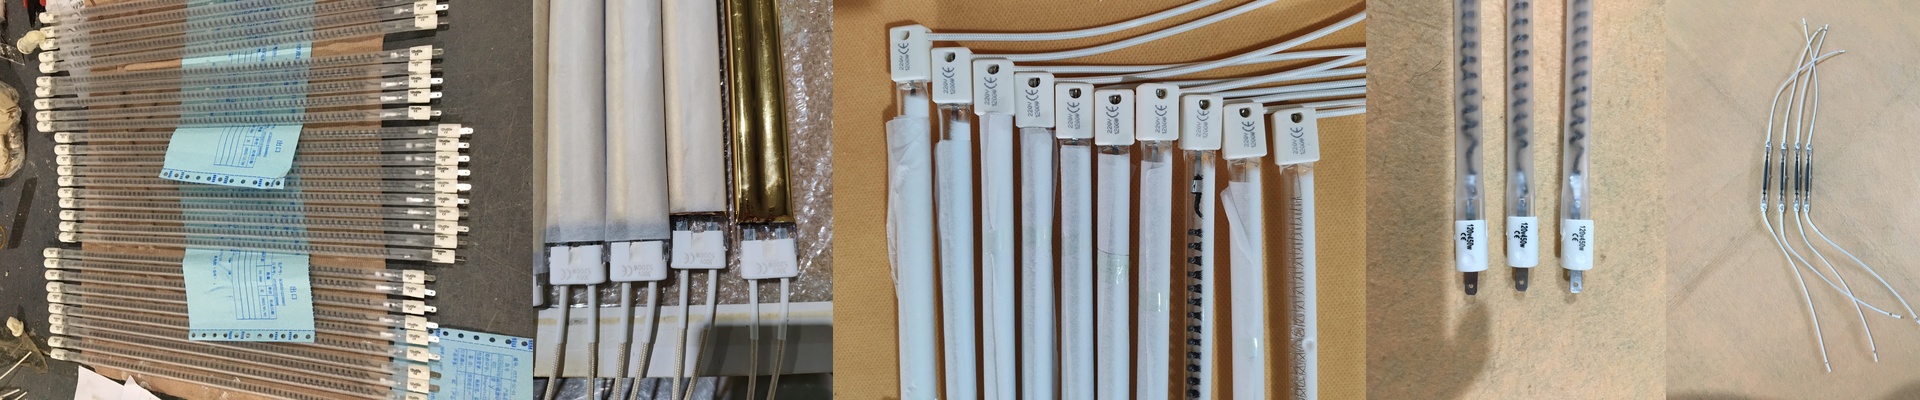
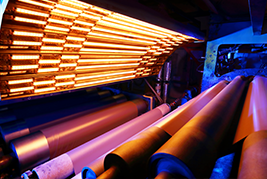
If you’re looking to replace the lamps in your MHM machine, you might think just matching the wattage is enough. It isn’t. To get that same OEM performance, you’ve got to look at how the heat actually hits the ink and how fast your line is moving. It’s a bit of a balancing act. Let’s talk power and voltage. We build these lamps to be simple, direct replacements. But here’s the thing: if the voltage or length is even slightly off, your heat distribution goes sideways. If you cram high wattage into a short lamp, you get a massive, concentrated heat zone. That’s great for flash curing, but it puts a lot of pressure on your power supply. Just double-check your wiring and breakers. You don’t want to be tripping breakers right in the middle of a big run. The gear inside. We use high-purity quartz glass for the tungsten filament. Why? Because it lets the shortwave infrared radiation fly right through without the glass soaking up the heat. We also add a halogen gas fill. This stops the filament from evaporating too fast, which means your lamps won’t burn out the moment you start cycling them. Even the connectors—the R7s or heavy-duty pins—are chosen specifically to stop arcing. That’s usually where the cheap, knock-off lamps fail. Making it work for you. These are designed to be a “drop-in” deal. You slide them into the reflectors, wire them up, and you’re hitting your target temps. Simple. But there is a trade-off. High-output shortwave lamps get hot—fast. Really fast. It cuts your drying time way down, but it does put more stress on your machine’s frame and the conveyor belt. If you’re pushing the wattage to the limit to crank out more shirts, just keep an eye on your cooling. You don’t want your electronics overheating while you’re chasing that higher throughput.